Dekupeo Tutorials
Creating a box with engraved lid
In this tutorial, we will create a box with an engraved lid using a laser cutter and Dekupeo software.
Data Preparation
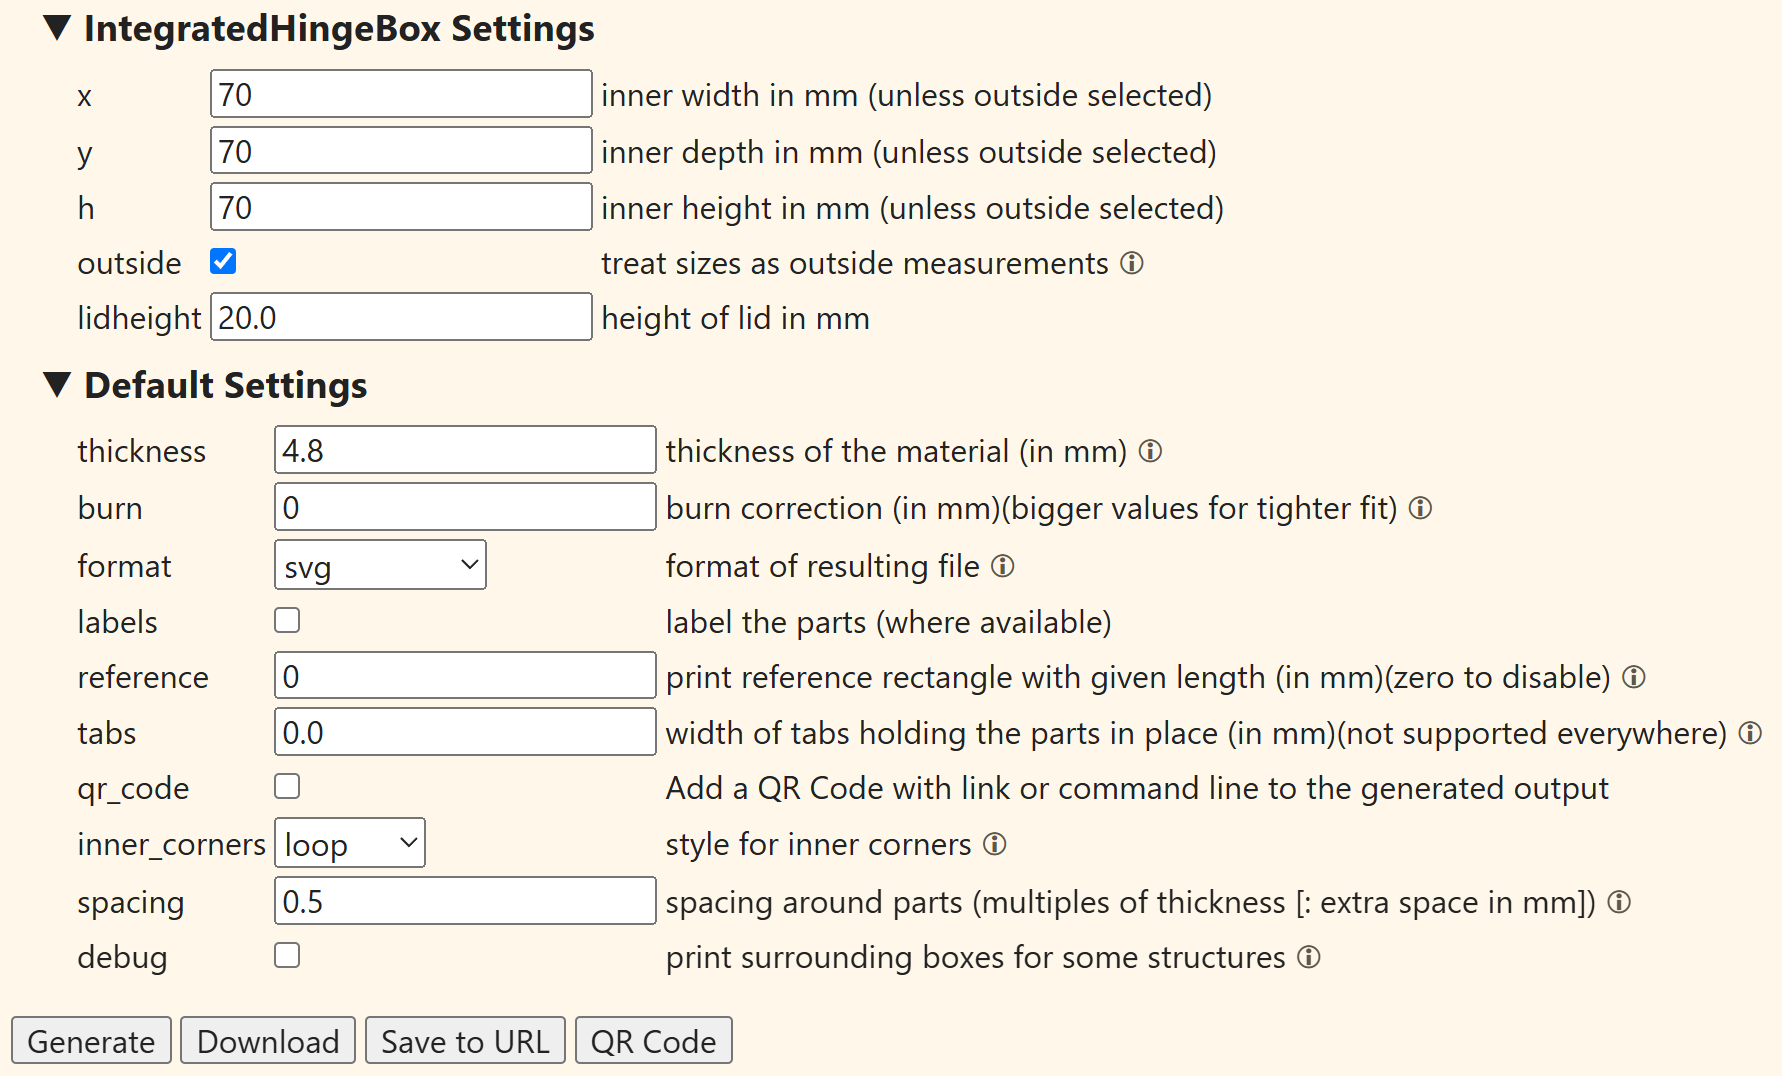
For this tutorial, we will generate the integrated hinge box with the online box generator boxes.py. Open the generator url. Set dimensions of your box, we will use 70x70x70 mm outside dimensions, 20 mm lid height and 5 mm material thickness. Set kerf (burn) to 0. We will adjust it in the software later. Uncheck generate labels and set reference to 0 to disable reference rectangle. Click Generate and download the generated SVG file.
Eventually, you can download the generated file we used for this tutorial: IntegratedHingeBox.svg.
Upload & Setup
Launch Dekupeo and create a new project. Set dimensions of your plywood sheet to fit the box parts. We use 250x250 mm for Sheet Width and Sheet Length in the left menu.
Upload your box SVG file. We need to split the svg into individual parts, because we want to add engraving to the lid. For splitting, press the split button () on the part.
Adding Engraving to the Lid
Let's customize the box by adding a logo and a text to the lid. Locate the lid part and click Attach Text Engrave () button. Create and position your text. Once you are satisfied with the text, click Save.
Next, attach a logo by clicking Attach Raster Engrave () button. Upload your picture, select desired dithering options, position it on the lid and click Save.
Alternatively, you can attach also vector engravings by clicking Attach Vector Engrave () button. You can even add multiple engravings (combining several texts, rasters or vectors) to the same part.
Optimize & Nest
Click Optimize & Nest to start automatic true-shape nesting. Dekupeo will automatically arrange the parts on the sheet.
Generate G-code
Click Generate G-code to create the machine instructions for your laser cutter. Select your material preset or fill in cutting parameters manually. Here is the proper place for setting the kerf (burn line thickness) compensation. We use 0.1 mm for tight fit with our diode laser.
If you change default parameters, regenerate the g-code and you can move to Run & Burn page to send the job to your laser cutter.
Run & Burn
Connect the machine if not connected yet, home the laser and move it to bottom left corner of the sheet and set it as origin (). You can use wireless gamepad for easy machine control.
Start the job by clicking the Play button (). Dekupeo will first engrave the lid and then cut parts automatically from inner to outer contours. Just watch the magic happen (with proper safety precautions, of course) and wait until the job is finished.
Once the job is finished, you can assemble the box. Congratulations, you made it!