Settings
You open settings via the icon () in the menu. It is organized into several sections.
Licence
Activate and manage your software license here. You can also view license details, upgrade your licence or extend your support plan from here.
General Settings
Configure basic environment preferences:
- Display Units – Switch between mm and in. All UI values will be converted automatically while internal calculations remain in millimeters.
- Operation Mode – Choose between Single machine control or Fleet mode (requires a Business license) for managing multiple machines.
- Job Queue – Enable or disable the job queue. Job queue allows you to prepare multiple jobs (G-codes) in advance and execute them later.
- Notification & Checks – Toggle safety warnings, origin and soft limit checks before job execution.
- Startup – Choose whether to start with a fresh project or restore the last active session. You can also toggle automatic machine connection and update check on startup.
Machines
Define and manage your hardware profiles. You can add multiple machines if you work with different types of equipment. This is especially useful in fleet mode for managing multiple machines simultaneously.
- Machine Preset – You can load predefined settings for different machine models to quickly configure a new machine.
- Machine Type – Choose between Laser, CNC Router, or Rotary Laser Engraver.
- Power calibration – Power calibration allows you to match different machines to the same output power by automatically adjusting power or feed rates based on the percentage you set here. For example, if you have two lasers and one is more powerful than the other, you can set the more powerful laser to 80% so that when you use the same settings for both machines, they will produce similar results.
- Travel and Output Limits – Define the printable/cuttable area for each machine.
- Connectivity – Configure connection type (Serial/USB or Network) and parameters.
Cameras
Configure cameras used for bed supervision and Shape Autodetection.
- Camera Sources – Support for USB webcams, HTTP MJPEG streams, and RTSP IP cameras.
- Calibration – Link camera profiles to calibration data to ensure accurate real-world scaling and distortion correction during detection.
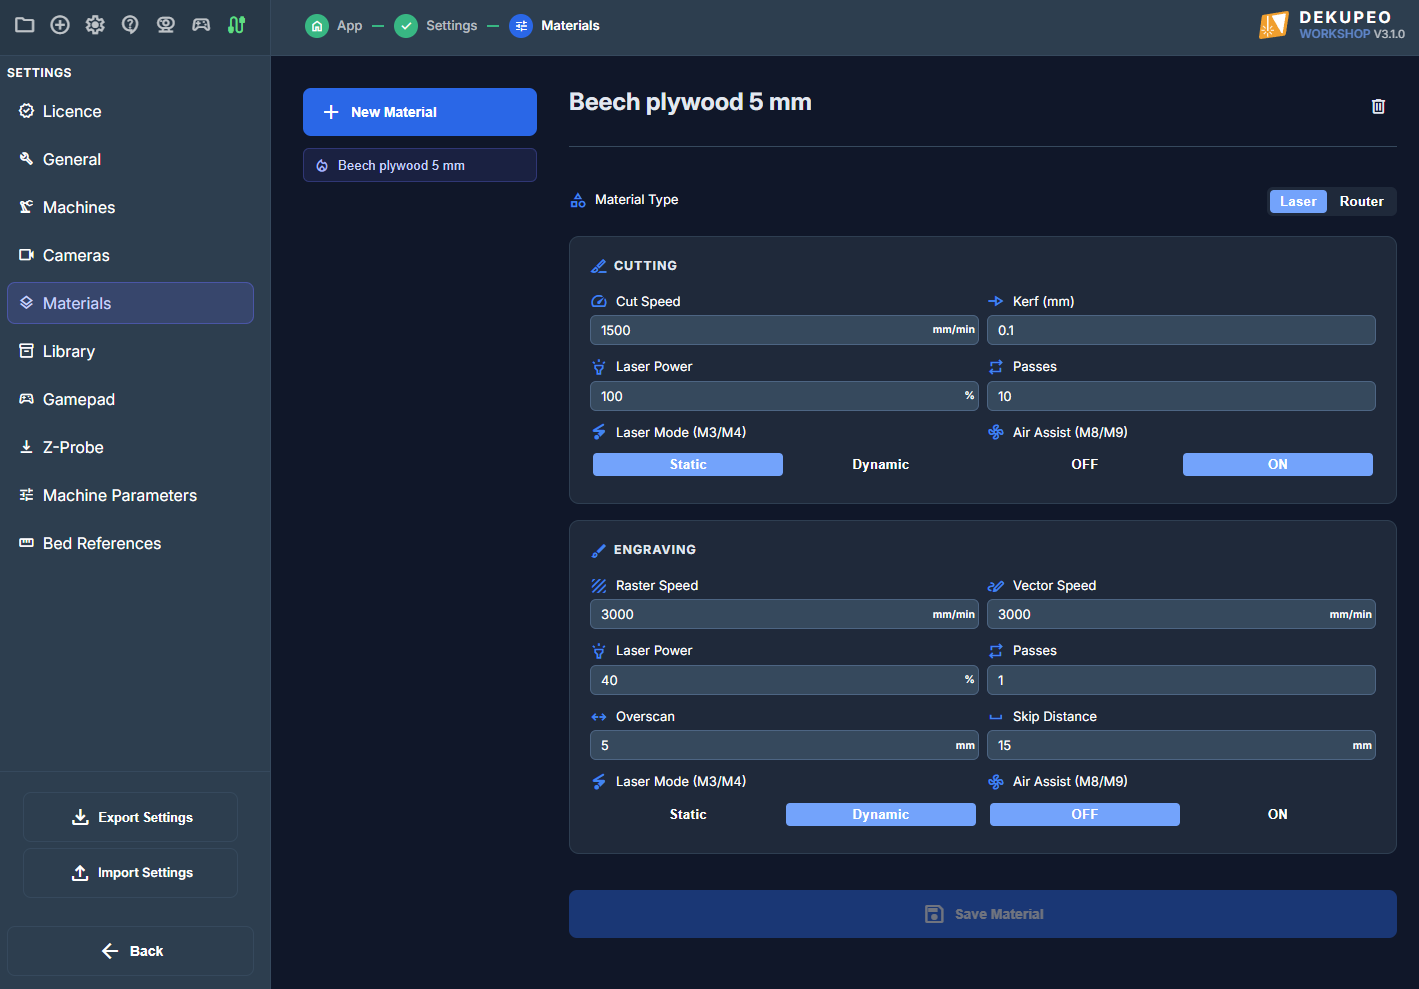
Materials (Presets)
Presets allow you to save verified speed and power settings for different materials.
- Contour Settings – Define the speed, power, and number of passes required to cut through the material. You can also specify the default Kerf Compensation.
- Engrave / Raster Settings – Define default parameters for vector and raster engraving.
- Import / Export – You can export all your material presets to a JSON file for backup or to share them with other users.
Library
Configure folder sources for your Product Library.
- Library Sources – Add local folders or network drives where your design files are stored.
- Subdirectory Scanning – Choose whether to recursively scan folders for DXF and SVG files.
- Active Library – Select which library is shown by default in the Upload & Setup page.
For more details, see tutorial: Using the Product Library.
Gamepad Settings
If you have a compatible USB or Bluetooth gamepad, you can use it to control the laser head manually. This is often more convenient than clicking buttons in the UI.
- Axis Mapping – Assign your gamepad's sticks to control X, Y, and Z movements. You can also invert the directions if needed.
- Button Mapping – Map physical buttons to actions like Play, Pause, Go to Origin, and Home Machine.
- Deadzone – Adjust the stick sensitivity to prevent mechanical "drift" when the stick is at rest.
Z-Probe Settings
Configure how the software interacts with your touch plate or Z-probe sensor:
- Probe Block Thickness – Enter the exact thickness of your physical probe block in millimeters.
- Feed Rates – Set the speed at which the laser head descends during probing and the speed for the slower "second touch" for higher precision.
- Search Distance – The maximum distance the laser will travel while searching for the probe block before giving up.
Bed references
Bed references section is present for Workshop and Business licence. It allows to test marker detection for Automatic Sheet detection and Autoengrave. You can also define Origin Offset which is used for alignment of your homing position and machine position calculated from corner markers. This is only applicable if you do not use an origin marker.